Anterior Release or Surprise Test

Purpose of Anterior release or surprise test (anterior glenohumeral instability): To detect an occult anterior instability of the shoulder joint (1). Patient position: Supine lying with the affected shoulder over the edge of the examination table. Examiner position: Stand facing the patient’s affected side. Procedure: Abduct the patient’s arm up to 90 degrees while placing a posteriorly directed force on the patient’s humeral head using … Continue reading Anterior Release or Surprise Test

Jobe relocation test or Fowler’s sign

Purpose of Jobe relocation test or Fowler’s sign (anterior glenohumeral instability): To detect or confirm if there is an anterior instability of the glenohumeral joint (1-3). Patient position: Supine lying. Examiner position: Stand facing the patient’s affected side. Procedure: Perform an apprehension test on the affected glenohumeral joint. At the point where the patient experiences instability or pain, apply a posteriorly directed glide to the … Continue reading Jobe relocation test or Fowler’s sign
Fulcrum test

Purpose of Fulcrum test (anterior glenohumeral instability): To test if there is an anterior instability of the glenohumeral joint (1). Patient position: Supine lying. Examiner position: Stand facing the patient’s affected side. Procedure: Gently flex the patient’s affected side elbow joint to 90 degrees and abduct the shoulder joint to 90 degrees, maintaining the humerus in neutral rotation. Gently perform lateral rotation of the patient’s … Continue reading Fulcrum test

Apprehension test

Purpose of Apprehension test (anterior glenohumeral instability): To test if there is an anterior instability of the glenohumeral joint (1). Patient position: Supine lying. Examiner position: Stand facing the patient’s affected side. Procedure: Grasp the elbow and wrist of the patient’s affected arm using your left and right hands respectively. Gently flex the patient’s affected side elbow joint to 90 degrees and abduct the shoulder … Continue reading Apprehension test

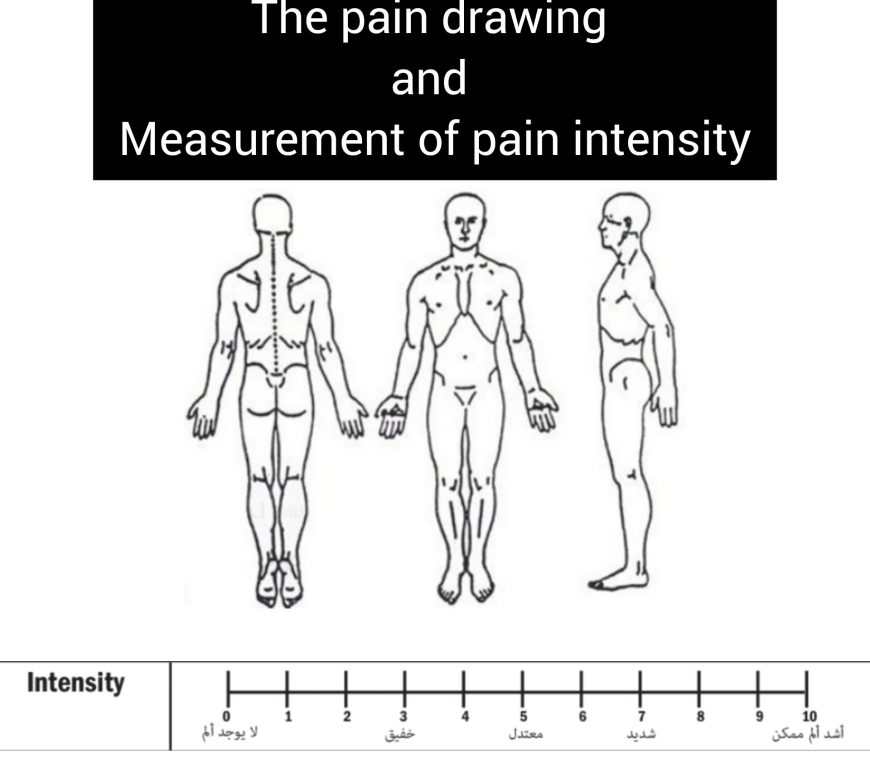
The pain drawing and Measurement of pain intensity

The pain drawing On a standardised and styled graphic representation, a self-reported multi-coloured graphic representation of the location and distribution of pain and other symptoms Six different colours signify six different sorts of symptoms, as shown below: Yellow = aching Blue = burning Green = pins & needles Black = numbness Red = stabbing pain The use of colours rather than symbols had not been … Continue reading The pain drawing and Measurement of pain intensity